

Spring is the perfect season to compost, so you can use the compost you make in your garden as soon as summer starts.
Adding pre-compost you’ve created to your own garden is a simple way to close the cycle in your own food system. There are so many additional benefits of composting: you can save money, help heal the earth, and strengthen your community. You can take all the food waste from your kitchen, any biodegradable waste from around the house, and even the whole leaves, grass clippings, and wood chips from your yard, and add it to your composting system. What you get is a nutrient-rich fertilizing material you can put back into the soil to produce more food. It’s quite a simple process, even if you’re a beginner at composting.
Check out any part of the guide that will be most helpful for you as you’re getting started in the garden.
- When to start composting in spring?
- 4 ways to start composting in spring
- Spring cleaning: use your yard waste in your compost pile
- Top 11 spring composting tips to get started
Before we get to all the different ways you can start a compost pile in the spring, let’s talk about when you should start composting this season to make the most of your garden through the spring and summer.
When to start composting in spring?

It is best to apply compost to your garden as soon as the ground has thawed so the nutrients can be incorporated into the soil before you begin planting. You can add pre-compost to your garden as late as one week before planting, and you can always add more with your plants.
Don’t worry if you’re a little bit late to starting a garden late in the season. Composting in spring can be super quick and easy, especially if you’ve got a Lomi electric composter for your kitchen.
Let’s talk about 4 ways to start composting now before you start your garden.
4 ways to start composting in spring
Springtime is one of the best times to get started with your compost. The warmer temperatures and wet conditions are ideal for the organic material you add to break down. Beneficial bacteria thrive in warm and wet conditions. You’re on the right path!
Let’s get into all the ways you can start composting this season.
1. Start a compost pile

A compost pile is the classic method of composting. This method has been used for centuries, and is very easy to start.
You have to be intentional about how you add to the pile over time. To get the best compost in your new compost pile, you should alternate layers of green materials (food scraps, grass clippings, and coffee grounds) with brown material (shredded paper, leaves, and cardboard). This method of layering brown and green matter is called sheet mulch composting.
Unfortunately, converting organic waste to fertilizing soil can take a long time using this method. If you just leave your pile alone without turning it, you won’t get any rich soil for more than 3 months, and up to a year.
Pro Tip: In the fall, when you prepare your garden for winter, you can compost using this same method right in your garden bed. In the spring, you’ll have rich pre-compost perfectly ready for you to plant in!
2. Use an electric composter

Whether you are starting to compost in the late spring, or you simply love an easy and convenient composting method, the Lomi countertop composter is a great option.
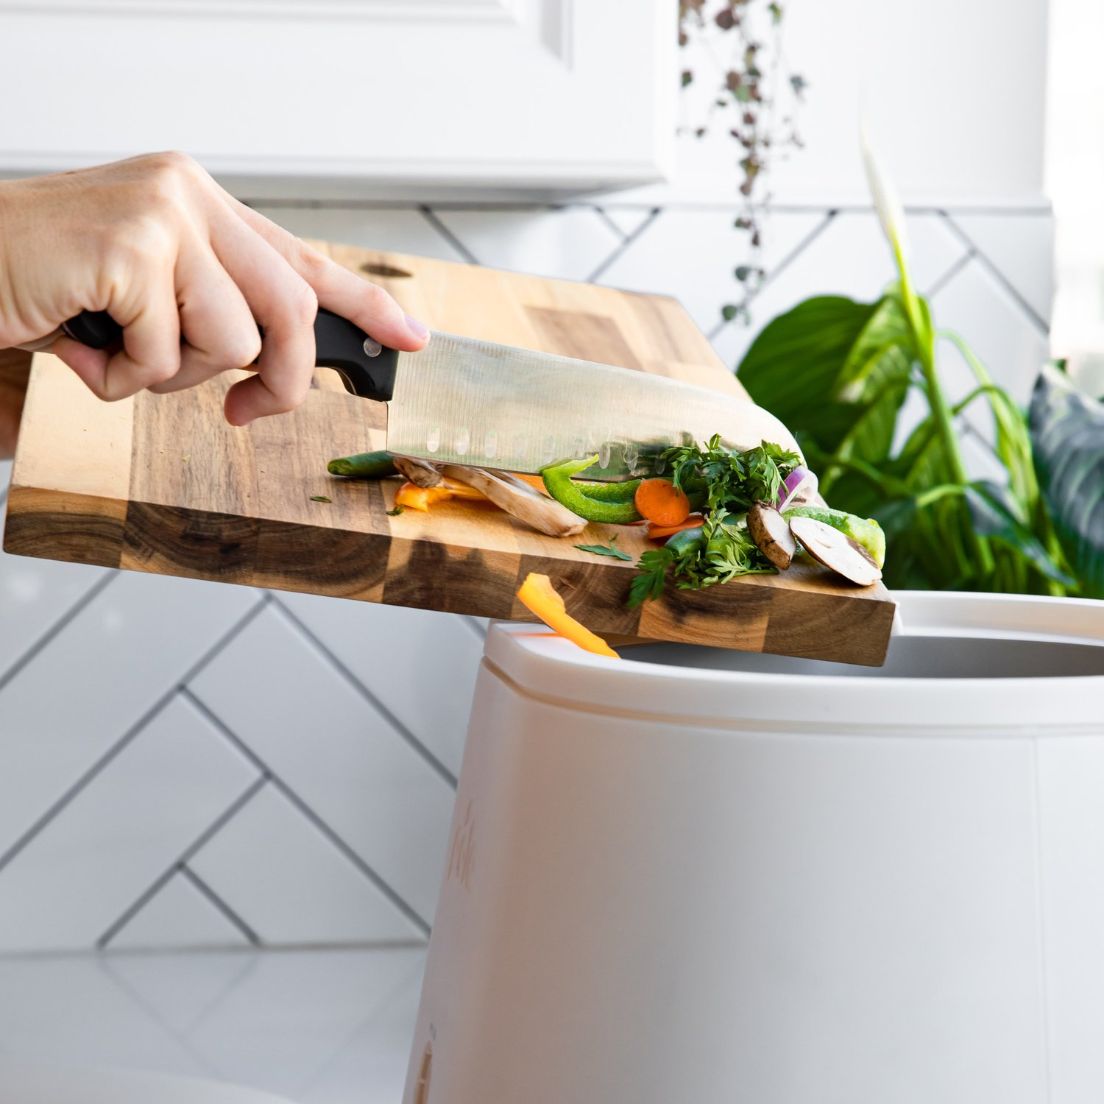
You can add all your compostable waste from your kitchen, including green and brown organic material, and even Lomi-approved biodegradable plastics, into the Lomi smart composter. All you have to do is press a button, Lomi will turn everything into a nutrient-rich dirt you can add right into your garden in about three hours.
The electric composter uses a perfect balance of heat, abrasion, and oxygen to create rich dirt, using classic composting methods without the typical labor that goes into maintaining a compost pile to create the best material for your garden.
Check out what people are saying about Lomi here.
Pro Tip: On top of making a great material for your garden, Lomi can reduce your waste footprint by up to 50%.
3. Use a tumbler composter

Unlike compost piles, tumbler composters create fertilizing compost in about a month. The setup can be quite expensive, with these composters costing more than $500.
Once you set up your tumble composter outside, you can add green and brown organic waste, including food scraps, grass clippings, and more. As you add more material, you have to turn and tumble the machine regularly, once or twice per day. Tumbling the material daily helps to aerate your compost, introducing oxygen to the microorganisms in your tumbler, helping them to break down more quickly than if you were to just let the pile sit over time.
Pro Tip: Don’t turn your tumbler too much! You could be preventing it from heating up enough and slowing down the composting process.
4. Try vermicomposting

Vermicomposting is the process of introducing worms to a compost pile, resulting in a mix of macro and microorganisms breaking down organic waste relatively quickly.
There are several best practices when it comes to vermicomposting, but the great part about it is that you can use this method to compost in fall or spring. It’s not season-specific, and you can do it indoors or outdoors!
The best worms for this kind of composting are red wrigglers, not the common worms you find in the soil or on the sidewalks after the rain. They are super efficient at eating tons of materials, like vegetable scraps, egg shells, and other kitchen waste. What you collect as compost is actually their waste, or worm castings. The castings are perfect fertilizer to add to your gardens in the spring. You can also keep worms composting year-round and build up a ton of pre-compost to use through the whole growing season!
Pro Tip: Red wigglers get really stressed when they’re exposed to light, slowing down the composting process or even resulting in worm deaths. Keep the lid on your vermicompost system as much as possible, feeding your worms only once a week or so.
Spring cleaning: use your yard waste in your compost pile
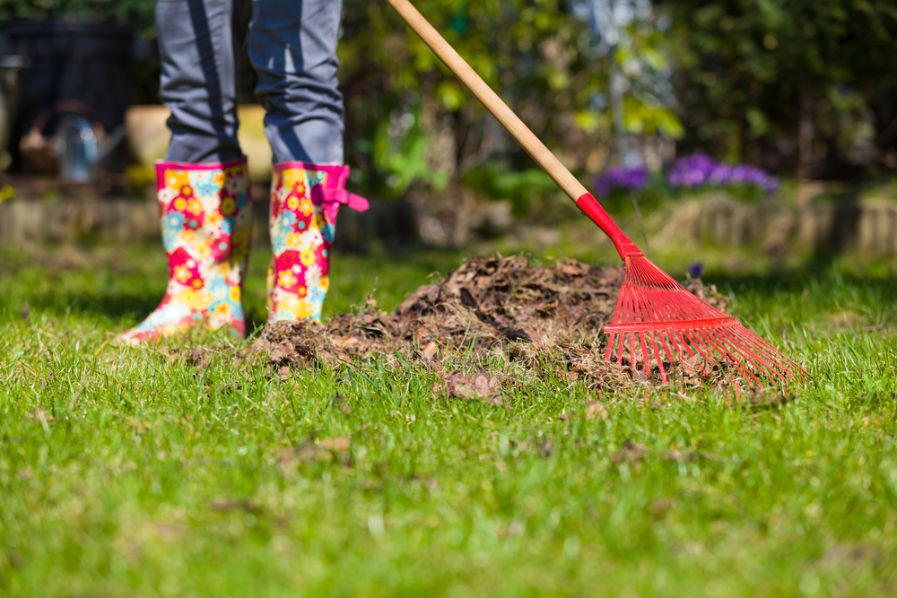
If you’re ready to start a composting system as soon as winter is over, it is one of the best times to jump start your pile! Collect all the brown material from your yard and use it to mix with the green waste from your kitchen.
This could mean clearing out all the brown leaves and plant foliage from around the yard, cutting back shrubs and trees, and emptying out hanging baskets and container plants that were left out all winter. The soil from these plants is amazing to add into your pile as well!
The brown material provides the necessary carbon to your bin, making for a steady decomposition process without overheating your pile or creating too much of a stink.
So much of this stuff is already starting to decay, which means you have an almost endless supply of available ingredients for your compost bin.
Top 11 spring composting tips to get started

Incorporating your pre-compost into your garden doesn’t have to be too hard. Luckily, we’ve handpicked the top 10 tips you need to make sure you’re composting with the skills of a pro.
- Choose the right location for your compost pile: Because you don’t want your pile to be under direct sunlight where the concentrated heat could kill the beneficial microorganisms in your compost, pick a spot that has a mix of sun and shade. Don’t set it too far away from your home, though, because you want to be able to conveniently add to your compost as needed.
- Keep meat, oils, and dairy out of your compost: You want to avoid these materials in your compost for a few reasons. First, meat and dairy can go rancid quickly, causing your compost to smell and attracting wild critters to your pile. Second, these materials can make your compost slimy and super smelly, which would be really unpleasant to work with. Make sure your compost has a nice, earthy smell before using it in your gardening.
- Don’t let your compost sit for too long: If you don’t keep your compost moving by turning it once every two days or so, you could create low- or no-oxygen (anaerobic) conditions, which releases methane and introduces bad bacteria into your pile. Your compost bin needs good air circulation to make the best nutrient-rich pre-compost for your garden beds.
- Keep your compost moist, but not wet: A good way to measure the moisture in your compost pile is to make sure it feels like a well-rung sponge. You can feel that it is wet, but it’s not dripping or soaking in any way. Too much water can also create anaerobic conditions, which is not good for compost.
- Make sure it’s at the right temperature: Compost that’s too cool will slow decomposition. Compost that is too hot (more than 170 degrees) will start killing beneficial microorganisms
- Try chopping up your waste material: If you are in a bit of a rush to get your compost started, a quick way to speed up the process is to chop up all your organic matter into small pieces. The smaller the pieces are, the easier it is for the beneficial microorganisms to break down each part.
- When your compost is ready, add good soil: Whether you mix your pre-compost straight into your garden or you use it to start seeds, make sure the soil you add is high-quality. Do some research on the kind of soil your plants need to ensure your pre-compost does not go to waste on flower beds that don't have proper soil structure.
- If you don’t have enough finished compost yet, add grass or fertilizer: If you are still waiting for your compost to be ready in late April or May, it’s time to take what you have and start planting. The best way to spread your compost is to mix it with collected grass clippings or store-bought fertilizer. These materials will give you a little extra boost so you can get to growing!
- Add compost a few weeks before planting: Ideally, you should add compost to your garden a couple of weeks before you start your spring garden. That will give the nutrient-rich dirt enough time to incorporate into the soil so it’s ready for your plants. It will also help your soil retain the perfect amount of moisture for your seedlings when you plant them.
- Don’t worry if the compost is really fresh: Adding compost that has just finished breaking down is good for plants that have a much longer growing season. If it’s really “fresh,” it will more slowly release beneficial nutrients over time, whereas “older” compost will have more nutrients readily available for the plants.
- Try adding extra compost as a mulch: If you plant your vegetables in a healthy dose of pre-compost (several inches around the roots), the compost will actually act as a type of mulch. It will protect the roots from overactive microorganisms, retain extra moisture, and even prevent weeds from cropping up.
Hopefully this guide was helpful for you to get ready to garden! Luckily, if you feel overwhelmed, there are lots of great links and resources throughout this article to get you started. So much of this process is trial and error, so don’t be afraid to get it wrong on your first try.
For the easiest and quickest composting process, Lomi is a perfect go-to. Its smart settings, advanced technology, and user-friendly design makes this instant kitchen composter a favorite for beginners and seasoned growers alike.
Written by: Jess Savage