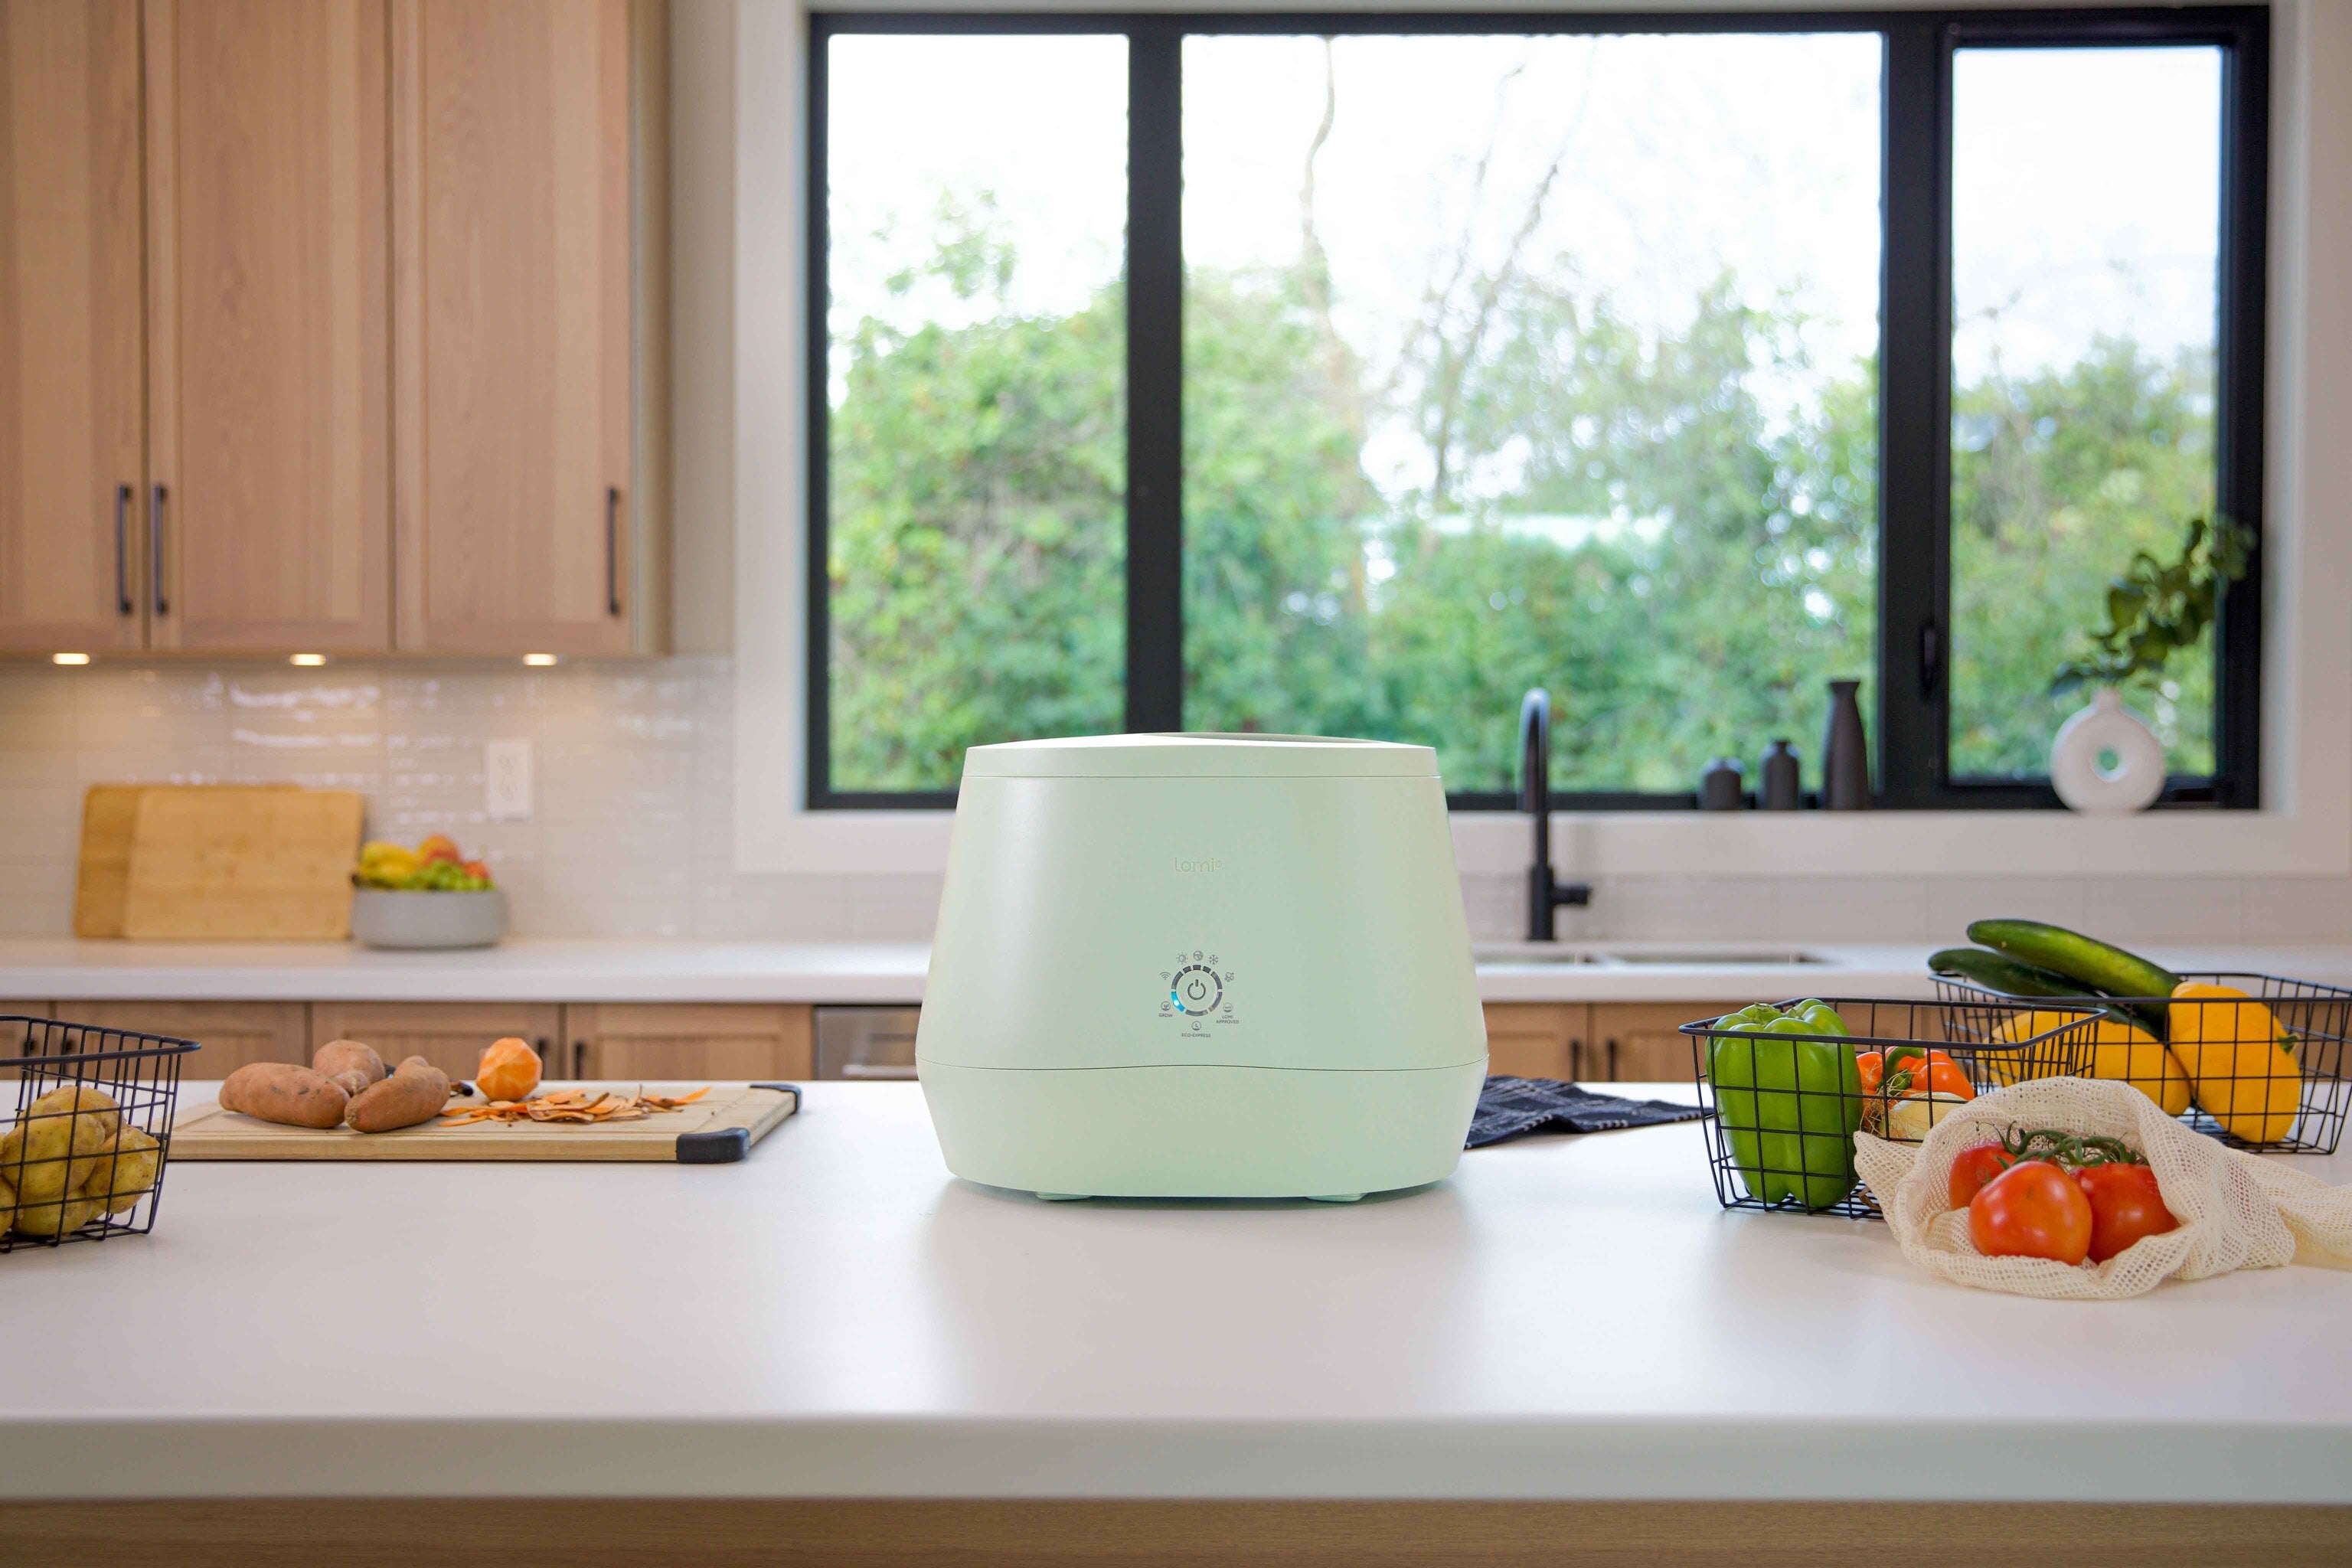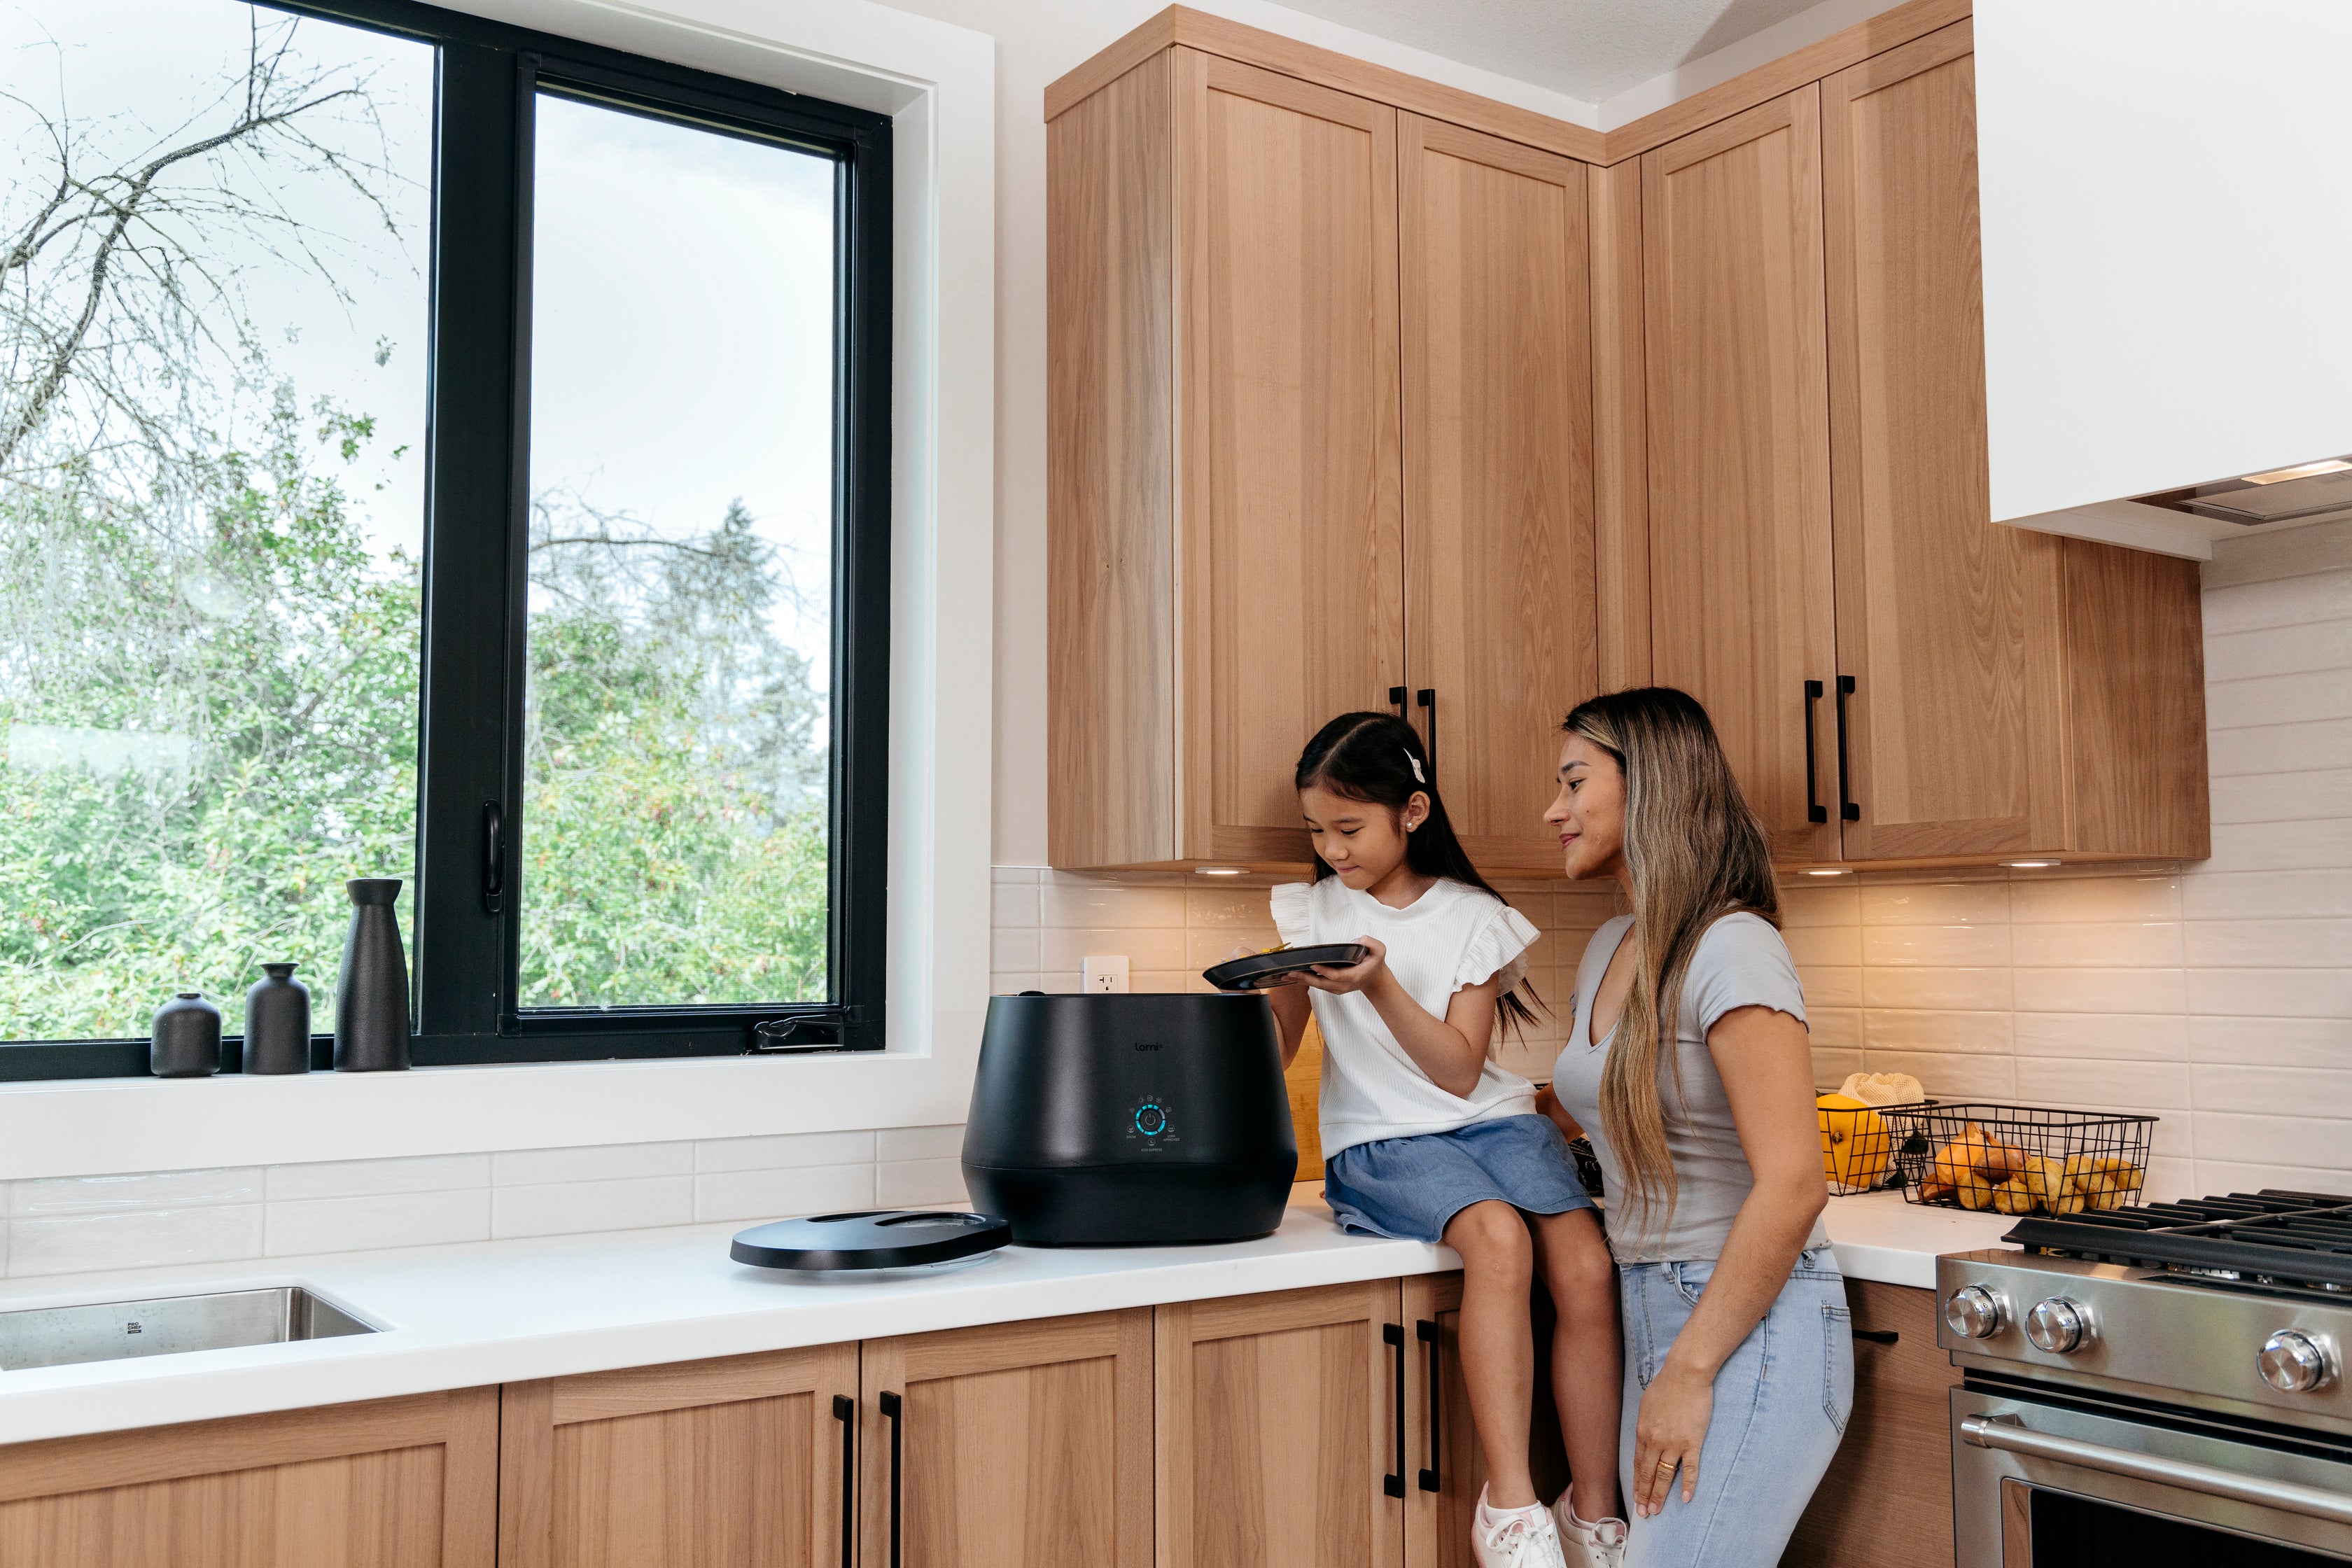
I’ve been using my Lomi for several months now, and I’m obsessed with it. Sometimes, I’ll even do two cycles in one day. Every time I dump my food waste in there, I simply don’t believe it will become nutrient-rich plant food - it’s called Lomi Earth - but it does!
Since I’ve been using it numerous times a week for more than a year, I’ve gotten really good at knowing what to put in Lomi and some secret tips and tricks for using it. I didn’t want to keep these golden nuggets of wisdom to myself, so here I am… sharing it with you!
Below are 6 tips to make sure you’re getting the most out of your Lomi.
1. The Secret of Lomi Filter
I promise you Lomi doesn’t smell. Lomi uses filters that are made of activated charcoal Air leaving Lomi passes through two filters and those filters suck up any odor…. Unlike garbage. I have mine in my kitchen running and I never smell anything funky coming from it.
Bonus tip: when you change your filters you can add your used charcoal right into your next finished batch of Lomi Earth: it’s great for plants!
2. Use LomiPods (and don’t forget to add a little bit of water!)
Everything and everyone needs a little water… including LomiPods. LomiPods are tiny tablets packed with bacteria and fungi that help Lomi work its magic and break down food scraps. Add them right into your bucket on top of your scraps and, for the best results, add a little bit of water (about 3 tablespoons) before you start your cycle.
If you’re looking for an in-depth article about what LomiPods do & how it affects the end product, read this!
3. Add Lomi Approved paper products and “browns” with your food waste.
Did you know that you can add some browns into your Lomi cycle? Browns are things like compostable paper products, lawn and yard trimmings, and flowers. In my house, we don’t buy paper towels, but when we go out to eat, we always bring our old, used napkins home with us. If the napkin is compostable and Lomi Approved, we throw those into Lomi to help balance out any extra wet foods. I think it’s the secret to our Lomi dirt being so luscious.
Did you know that, while green waste is rich in nitrogen, brown waste is rich in carbon, which is also an essential element in soil to help plants grow.
4. Cut your big pieces of food waste into smaller pieces.
When throwing food into Lomi, here’s a tip for you… cut large pieces up. I’ve found that when I cut larger pieces like kale stems or leaves of lettuce, the finished product is much better.
When you cut the biggest pieces of food up, it allows Lomi to run properly. The food pieces won’t get stuck during the grinding process.
Some foods to cut into smaller pieces include:
- Carrot Tops
- Brocolli stocks
- Flower stems
- Melon rinds
5. Choose your cycle wisely.

No matter which cycle you choose you’ll get great Lomi Earth that’s ready for use but, if you’re going to be breaking down bioplastics and Lomi Approved items it’s always best to use the “Lomi Approved” cycle for the best results. If you’re going to run a Lomi Approved cycle, it’s important to not stuff Lomi full of only these bioplastics. Lomi still needs food waste in this cycle to be able to run properly. A ratio of 10% bioplastics to organic waste is optimal. When I was composting Lomi packaging with Lomi, it took me a few cycles to get rid of all the packaging.
Remember, composting bioplastics is a marathon, not a sprint. Take your time, use enough food waste and go slowly.
6. Leave your bucket for three cycles.
This final tip, I just learned myself! Previously, after every Lomi cycle, I would take the Lomi Earth and mix it into my potted plant or garden soil, or add it into my compost pile. But, I read that you can leave your Lomi dirt in the bucket for up to three cycles!!
In fact, leaving your completed Lomi Earth from the last cycle will improve the quality of your end product.
Make sure to add more fresh food waste, then simply start the next cycle! Be sure to also empty Lomi after 3 cycles.
I’m learning more and more about my Lomi every time I use it. I hope that these tips and tricks inspired you to get to know Lomi a little better and ensure that you’re using it to its full potential. Using Lomi in my home has been easier than I expected it to be. There aren’t that many rules to follow and (almost) everything I eat can be put into the machine. There’s only one button to press and it’s super easy to clean too. Lomi is a dream.
If you’re ready to reduce your waste by 50%, order your Lomi today and get started turning your food waste into dirt at the touch of a button.

Molly is a freelance writer and a mom of two young kids. She is passionate about gardening, living an environmentally-friendly life and passing down her sustainability habits to her children.
