Lomi 3 Replacement Part Guide
Replacement Part Guide
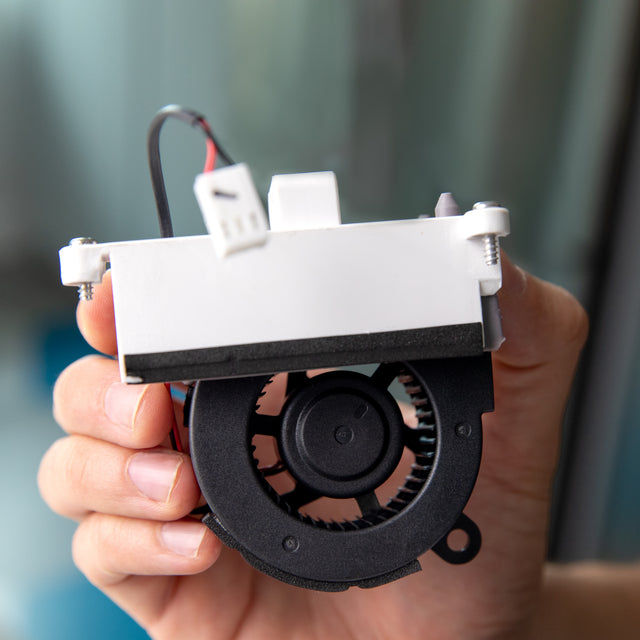
 How to Replace the Fan Module?

The only tool you will need is a Phillips #2 (PH2) size screwdriver. Before you get started, take a minute to read through the instructions.
Note: Captive means that the screws will stay attached to the part that they are securing.
- Unplug the unit.
- Remove the charcoal filter from the back of the unit.
- With the lid closed, place the unit upside down on a table cloth or towel.
- Using a Philips screwdriver, loosen the 8 Philips screws that attach the maintenance cover to the base of the unit, then remove the cover and place it aside. One of the 8 screws is covered by the device information sticker on the tech cover for anti-tamper protection, and can be accessed by locating the white circular ring in the bottom right corner of the sticker, and using a screwdriver to pierce through the middle of the ring. The screw can then be loosened. These screws are captive and will stay attached to the maintenance cover.
- Locate the fan module and unplug the fan connector by pulling the connector head up (not by pulling on the wires), then remove the 2 Philips screws that secure the fan module to the unit.
- Pull upwards on the tab to remove the fan module from the unit.
- Take the new fan module and place it in the fan chamber. Make sure that the screws are aligned with the screw holes and press down firmly. You may need to compress the silicone part slightly by pressing on the outside edge to fit it inside the compartment
- Hand tighten the 2 screws that secure the fan module to the unit.
- Plug in the fan connector.
- Replace the maintenance cover and tighten the 8 screws that attach the maintenance cover to the base of the unit until they are snug.
- Soft reset the unit to clear the error code by holding the main button for 5 seconds until you hear a beep.
*Lomi is not liable for any injuries or damages that may result from replacing a part or following these instructions—please proceed with care. If you have any questions at any point during the repair process, don’t hesitate to reach out to us at hello@lomi.com. We’re here to help!
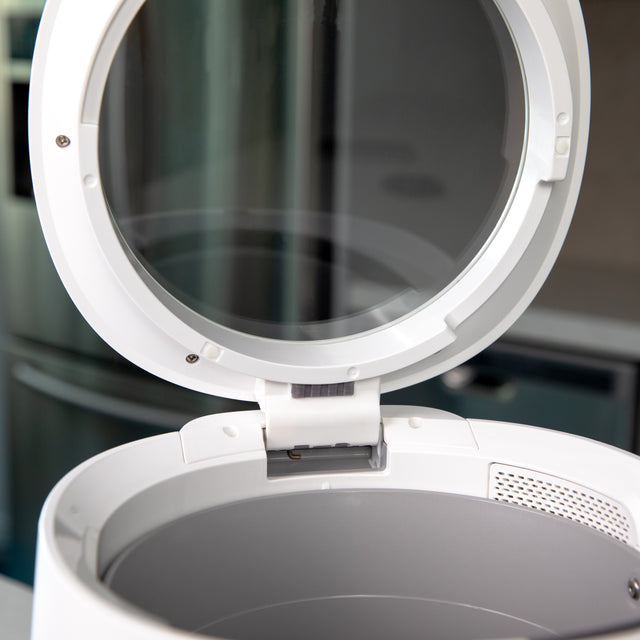
 How to Replace the Lid Module?

The only tool you will need is a Phillips #2 (PH2) size screwdriver. Before you get started, take a minute to read through the instructions.
Note: Captive means that the screws will stay attached to the part that they are securing.
- Unplug the unit.
- Open the lid, and ensure that it is tilted as far back as possible.
- Locate and remove the 2 large Philips screws that attach the plastic hinge cover to the unit.
- Lift and push the hinge cover towards the back of the unit to remove it.
- Close the lid, then remove the 4 smaller Philips screws that secure the metal hinge bracket to the body of the unit.
- Open the lid and pull the entire lid assembly upwards to remove it from the unit.
- Take the new lid assembly, align the metal hinge bracket with the mounting posts, and press the lid assembly into the body of the unit.
- Attach and tighten the 4 smaller Philips screws that secure the metal hinge to the body of the unit in the holes shown in the picture.
- Slide the plastic hinge cover over the hinge and attach and tighten the 2 large Philips screws securing it to the body.
- Close the lid.
*Lomi is not liable for any injuries or damages that may result from replacing a part or following these instructions—please proceed with care. If you have any questions at any point during the repair process, don’t hesitate to reach out to us at hello@lomi.com. We’re here to help!
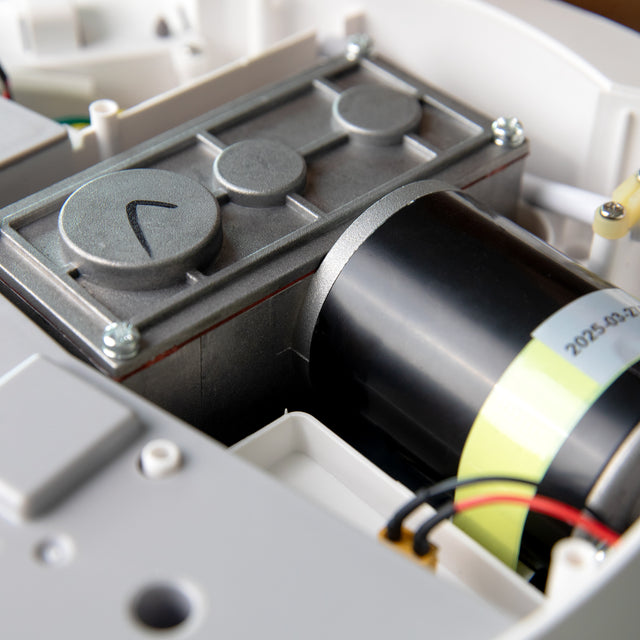
 How to Replace the Motor Module?

The only tool you will need is a Phillips #2 (PH2) size screwdriver. Before you get started, take a minute to read through the instructions.
Note: Captive means that the screws will stay attached to the part that they are securing.
- Unplug the unit.
- Remove the charcoal filter from the unit.
- With the lid closed, place the unit upside down on a table cloth or towel.
- Using a Philips screwdriver, loosen the 8 screws that attach the maintenance cover to the base of the unit, then remove the cover and place it aside. One of the 8 screws is covered by the device information sticker on the tech cover for anti-tamper protection, and can be accessed by locating the white circular ring in the bottom right corner of the sticker, and using a screwdriver to pierce through the middle of the ring. The screw can then be loosened. These screws are captive and will stay attached to the maintenance cover.
- Locate the motor module and unplug the motor connector, then loosen the 4 large Philips screws that attach the motor to the mounting plate. These screws are also captive and will stay attached to the motor module.
- Remove the motor from the unit. The motor/gearbox module can be removed easier by grabbing the gearbox side of the motor module (the metallic rectangle) and tilting it upwards before pulling the entire module out.
- Take the new motor module and place it in the unit.
- Tighten the screws that secure the motor to the mounting plate.
- Plug in the motor connector. The motor connector is directional and can only be plugged in one way - one side has a square edge, and the other has a rounded edge. Align these edges with the corresponding edges on the connector.
- Replace the maintenance cover and tighten the screws until they are snug.
- Soft reset the unit to clear the error code by holding the main button for 5 seconds until you hear a beep.
*Lomi is not liable for any injuries or damages that may result from replacing a part or following these instructions—please proceed with care. If you have any questions at any point during the repair process, don’t hesitate to reach out to us at hello@lomi.com. We’re here to help!
